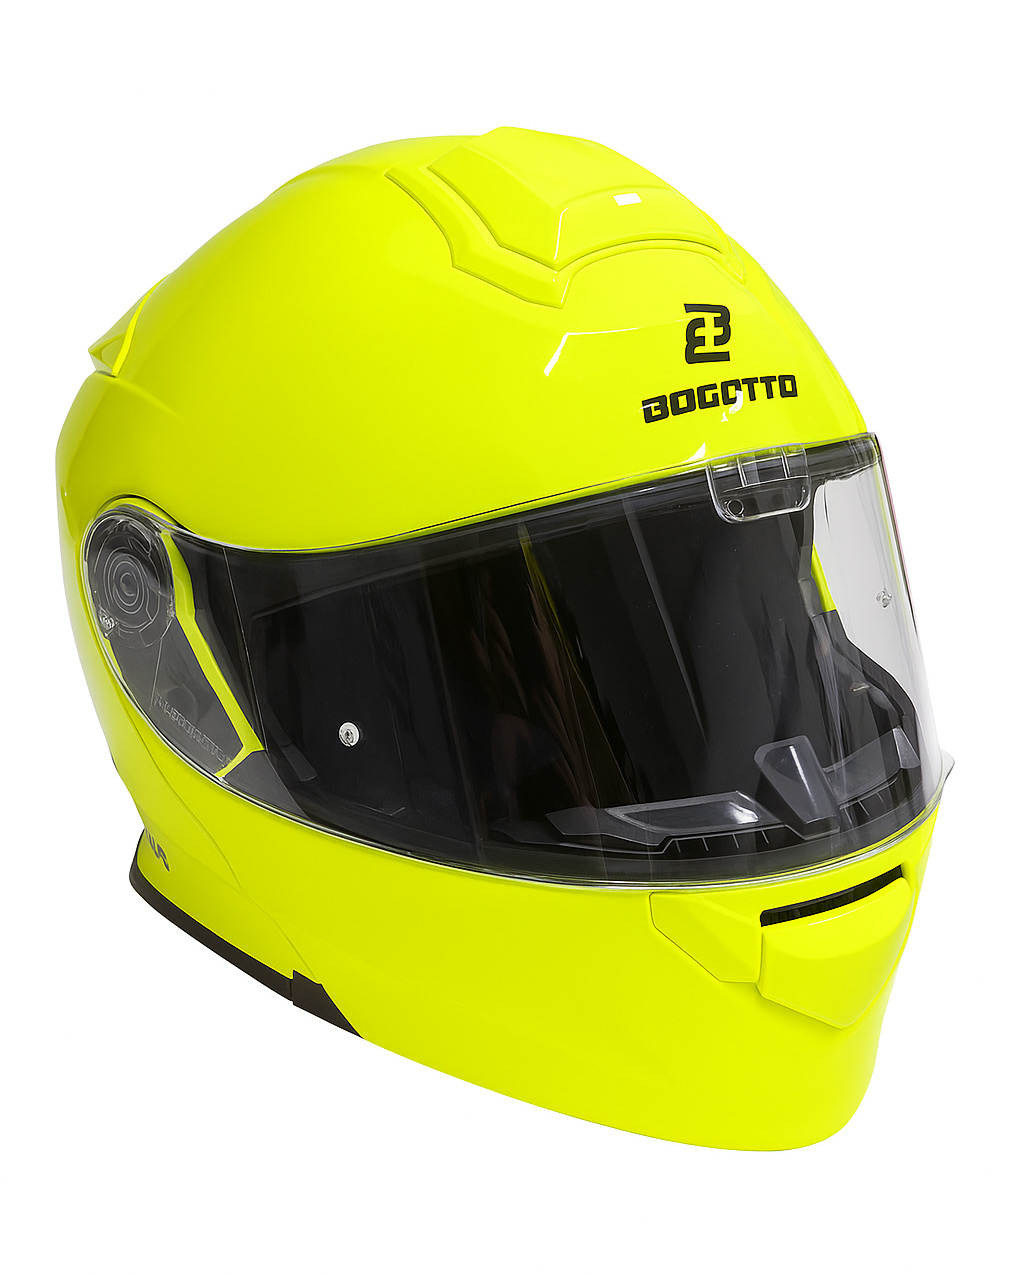

Self adhesive visor mount
€16,50
What you get:
- 3× Self-Adhesive Visor Mounts – made of clear polycarbonate, no drilling required
- 3× Cleaning Swabs – for cleaning the visor before mounting
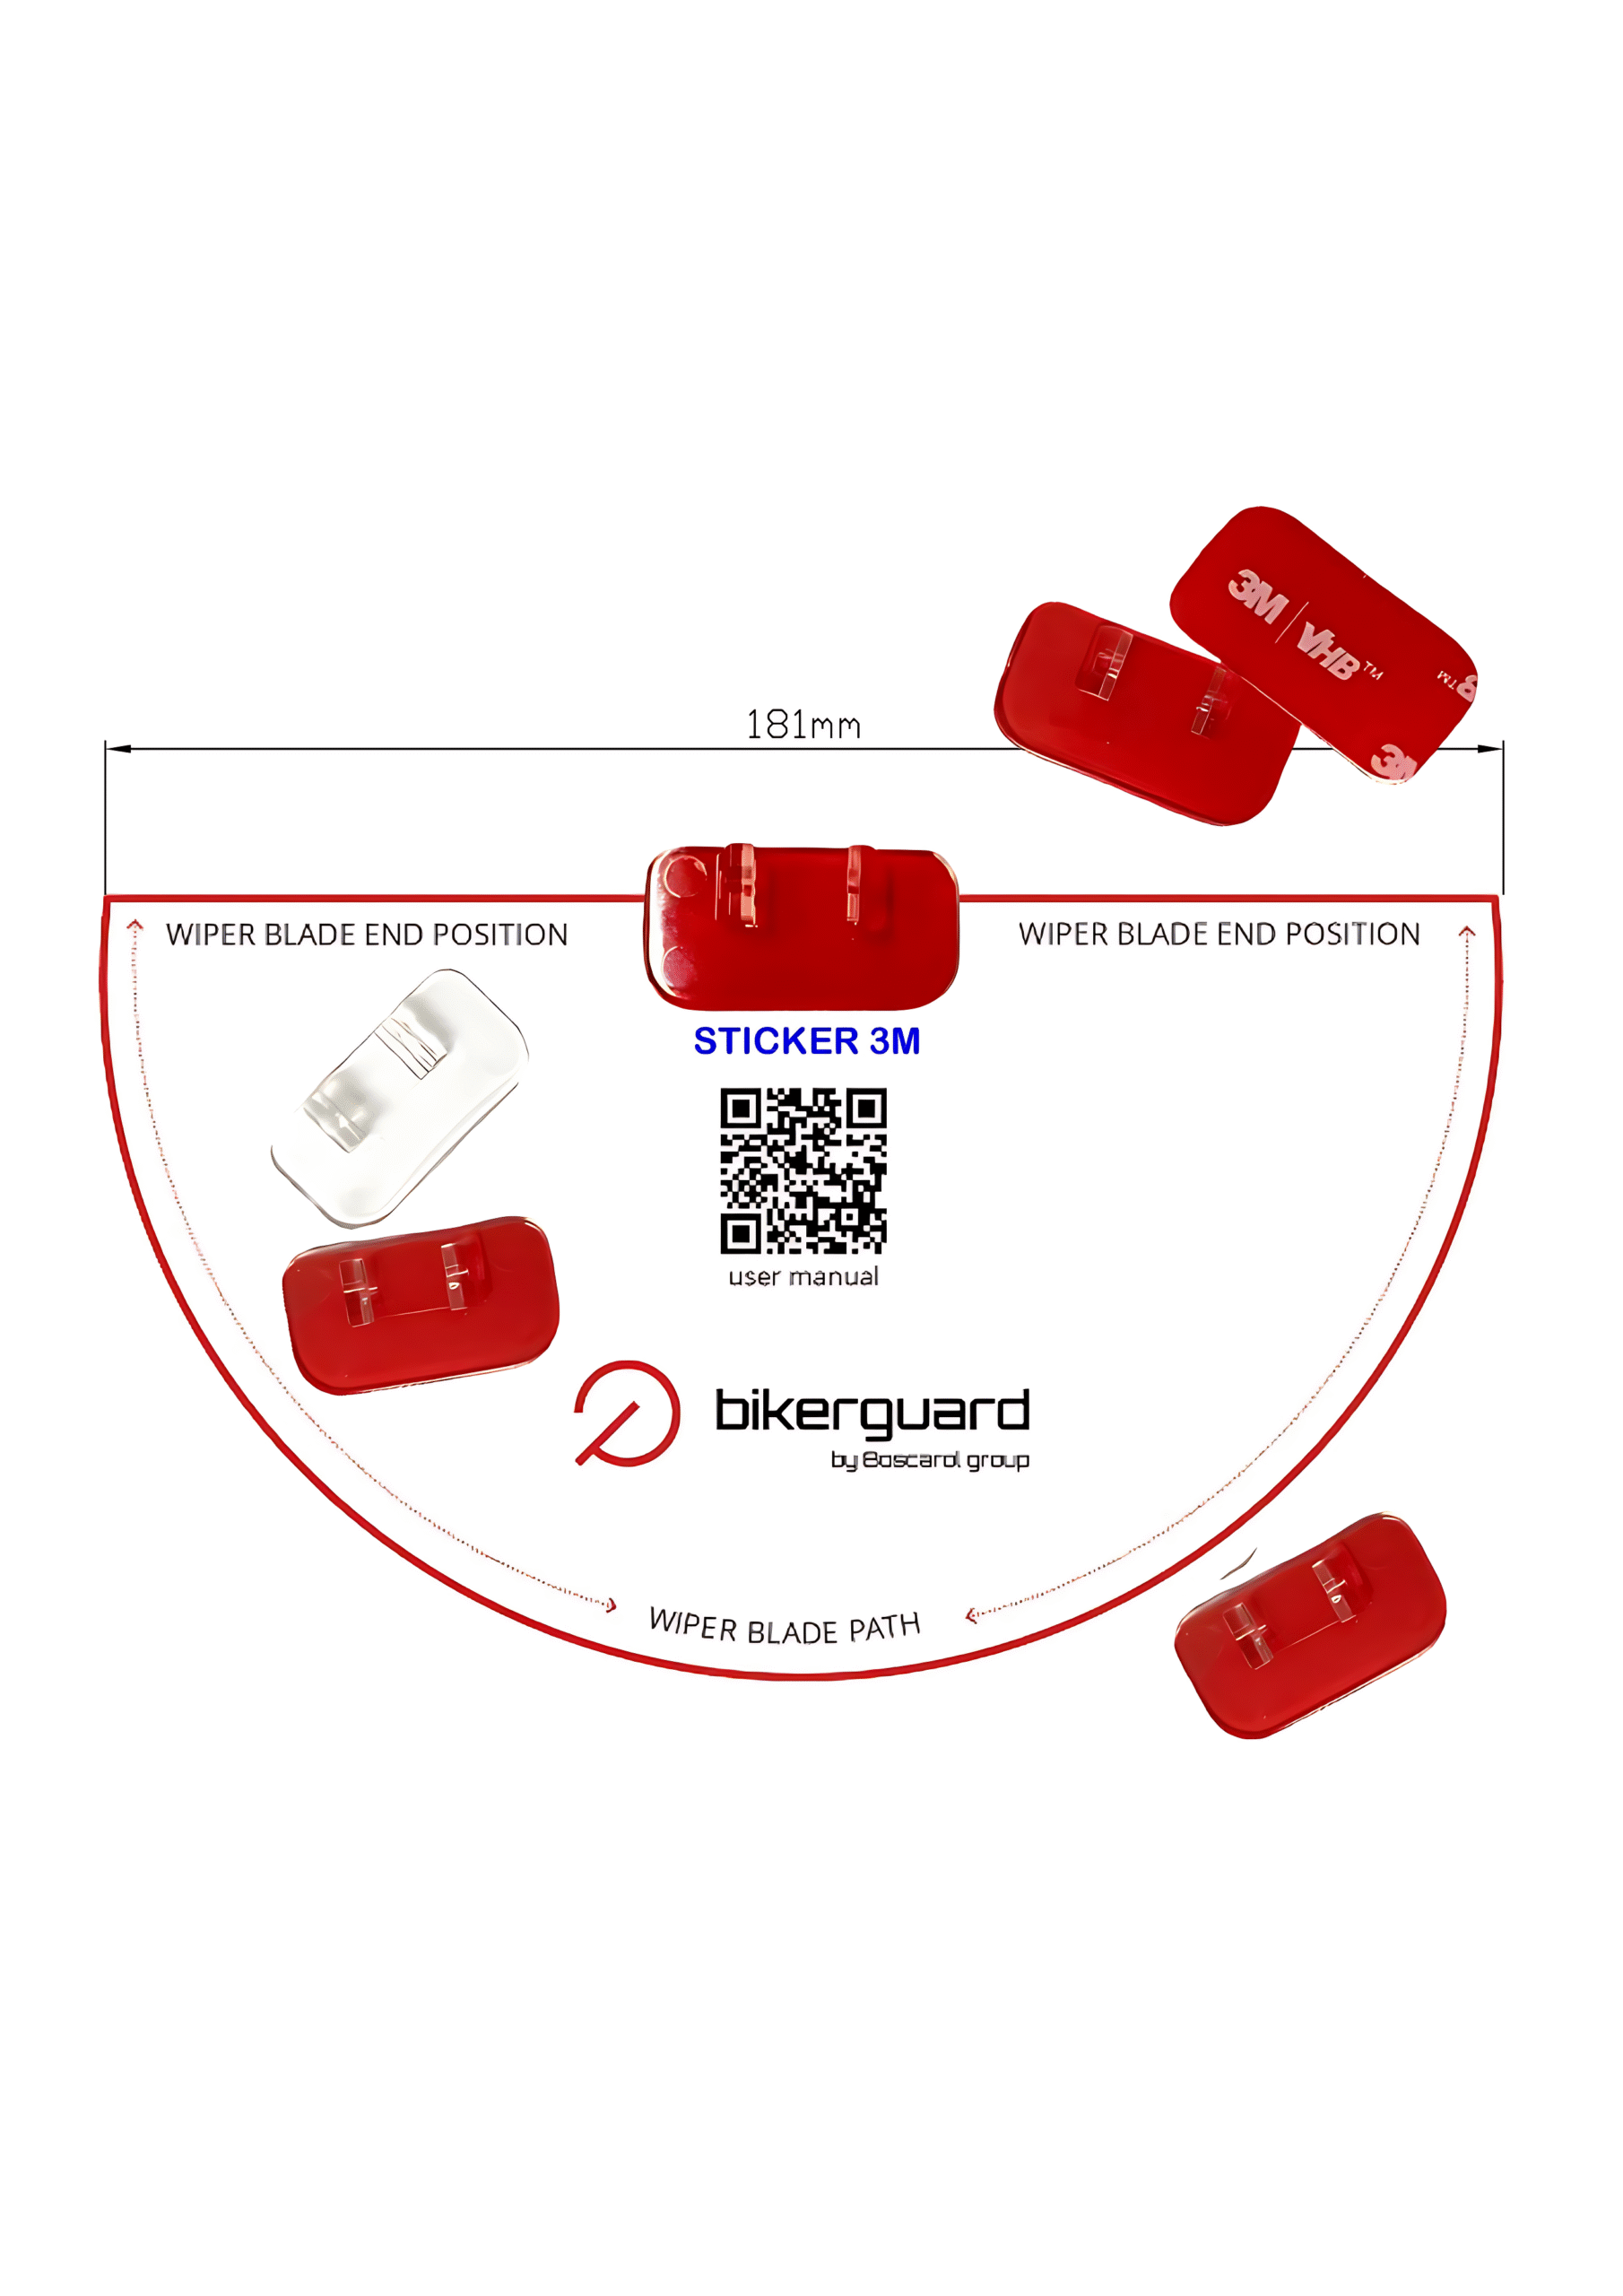
- Download Installation Template HERE – for precise and easy positioning
Why a Self-Adhesive Mount?
The Self-adhesive visor mount was created for riders who prefer a simple, no-tools installation without drilling their visor.
It’s perfect for urban and casual rides, short commutes, or when you want to test the BikerGuard wiper before choosing a permanent mount.
While it’s limited to city speeds and light use, it offers a clean, transparent look and easy removal — ideal for those who value convenience and flexibility.
Surface Preparation & Mounting and 24 hour rule
- Clean the visor thoroughly with the included swab (remove all dust, oil, and moisture).
- Make sure the surface is completely dry.
- Align the mount using the installation template (PDF available online).
- Press firmly and evenly across the entire surface for full adhesion.
- Wait at least 24 hours before exposing to moisture or attaching the BIKERGUARD.
Regular Check
- Inspect before every ride.
- If any edge lifts or weakens, remove and replace before use.
- Heat, cold, vibration, or cleaning agents can affect adhesive performance over time.
Limitations
- Not suitable for use with the BikerGuard camera mount.
- Use only up to city speed limits.
- For a permanent and high-speed solution, use our fixed MOUNT SET – with screw attachment.
Template
You can also download the free PDF (M1:1) template HERE, and print it on your printer with non-scale preferences. Then simply cut out the template, place it on top of your visor, and check the trajectory of the viper blade.